How to Ferment Vegetables
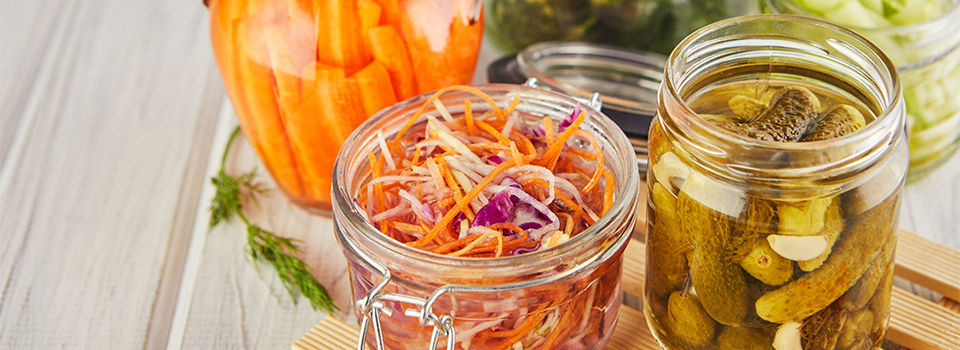
Fermenting is related to pickling, but it relies on natural bacteria rather than vinegar and salt. While it helps preserve food and make it last longer, it also unlocks nutrients and flavors in the vegetables to elevate them beyond their humble beginnings. All you need to get started are some glass jars, your favorite vegetables, a little salt, and some spices if you like. Once you try a few things and decide you enjoy fermenting, you can upgrade to airlocks to prevent contamination and large crocks for embracing traditional methods. Knowing what can go wrong will help you adjust and feel less frustrated as you practice your skills.
Choose Some Easy Vegetables
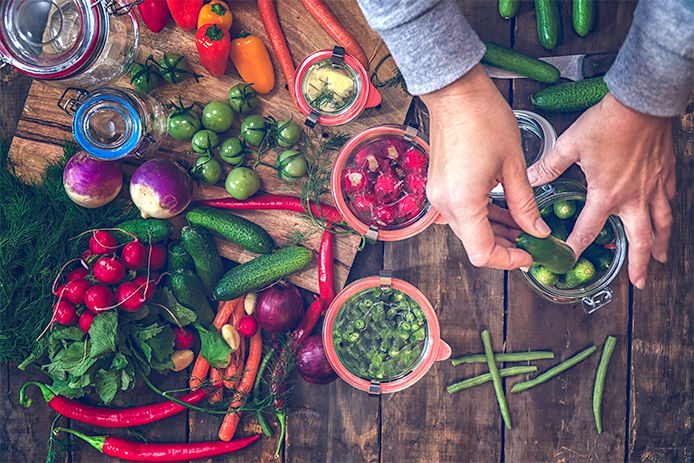
Almost all vegetables can be fermented in some way. However, some don’t taste as good as others or need special handling to avoid bacterial issues. The easiest vegetables to begin fermentation with include:
- Cauliflower
- Cucumbers
- Carrots
- Green beans
- Radishes
- Cabbage
Cucumbers let out a lot of their own water, but it shouldn’t affect the brine too much. The other vegetables are all relatively dry and will need brine.
Pick Up Some Basic Equipment
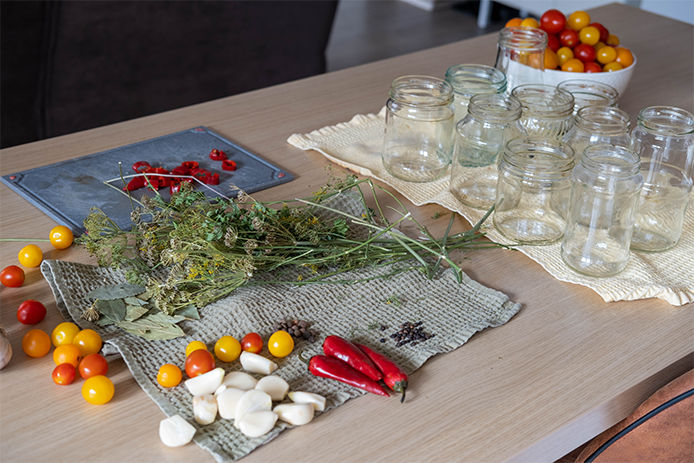
It’s easy to go all-out when shopping for fermentation equipment. Before you order specialty airlocks and large ceramic crocks, try a set of Mason jars and lids from a local Do it Best store. The key is to keep the food level below the brine in the jar so that oxygen doesn’t reach it. You can use a piece of glass known as a fermentation weight to do this, or you can just add extra brine and cut the vegetables larger to make them less likely to float. Use a larger container, choosing wide mouth jars over narrow mouth designs so that you can leave at least one full inch of space at the top of the jar. Place all glass jars in another container — like a glass baking dish — since they’re likely to bubble fluid out as fermentation continues. If you’re using the regular lids, only place them on loosely, and don’t screw the ring down to avoid pressure build-up that could crack the jar.
Mix Up a Brine
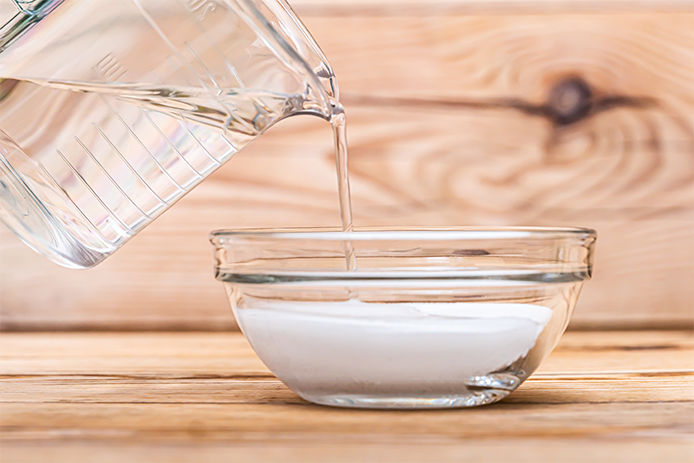
Looking up a recipe for fermenting your selected vegetables will help you formulate a tasty brine. You can also experiment on your own if you don’t mind the risk of tossing out a jar that goes moldy. In general, you need a 5% solution. This means 5 grams of salt per 100 grams of water. Use a kitchen scale to measure rather than cups and teaspoons since they can vary significantly in actual volume. Any kind of salt can be used. Warm the water and stir in the salt until it disappears. Unlike with pickling, you don’t want to add the water while it’s hot or boiling to the vegetables. This can kill off bacteria that you need to provide the fermentation process. Use water treated with reverse osmosis or distillation for the best chances of healthy fermentation since minerals and fluoride are removed that could interfere with the development.
Watch for Problems
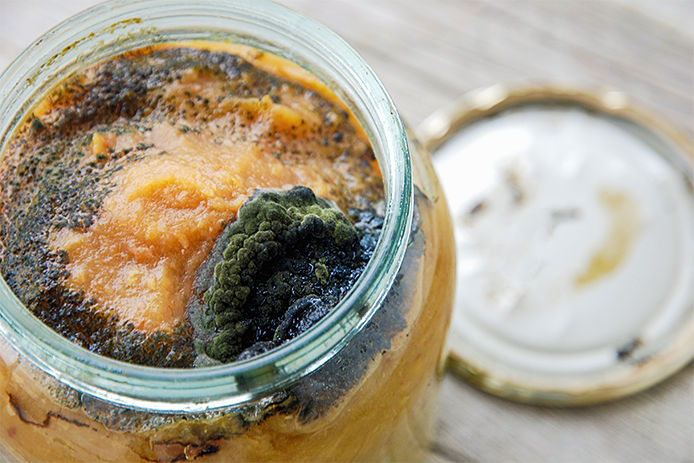
Your vegetables will need anywhere from three days to one week on the countertop at room temperature to properly ferment. After that, they can go into the refrigerator to develop more flavor without actively fermenting. Within one to two days, you should smell a subtle sour flavor, not unlike mild vinegar, coming from the jar. If you see anything white or milky-looking forming on the surface of the brine, you can remove it because it is likely just a harmless growth of kahm yeast. If the growth on the surface is fuzzy, any other color than white, or grows thicker than just a film, it’s mold. You must toss out anything that molds and start from scratch after sterilizing your equipment and the area where you fermented it. Try increasing the salt solution by 1% at a time until you can get your ferment to complete successfully without mold growth. Keep your ferments away from mold sources like cheeses, ripening fruit, and any mildew-prone parts of the home.
Must-Have Tools
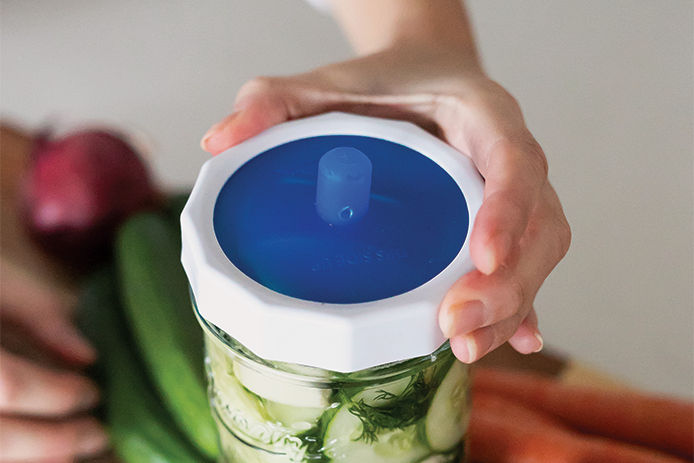
Once you decide you enjoy fermentation and the taste of the finished product, consider upgrading your equipment. Airlocks help gases escape without letting air back in, keeping contaminants as low as possible. They can take the form of flat silicone covers that screw on with a jar ring or specialty covers with beer-brewing devices attached. Even fermentation crocks offer a similar effect by integrating a ring of water in the lid that lets gas out.
With a few tries, you can start producing tasty dishes like kimchi, sauerkraut, natural pickles, and more, all at home. Soon you’ll be known as the fermenting fanatic in your neighborhood and will have a full collection of tools for your new hobby.